Troubleshooting HP LaserJet Pro Won’t Print
Are you experiencing frustration with your HP LaserJet Pro printer refusing to print? Don’t worry, we’ve got you covered! In this article, we will explore some troubleshooting steps to help you resolve this issue and get your printer back on track. So, let’s dive in and conquer this printing problem together!
Troubleshooting the HP LaserJet Pro
Troubleshooting HP LaserJet Pro Won’t Print
If your HP LaserJet Pro printer won’t print, there are several solutions you can try to fix the problem. First, check the power cord and ensure it’s securely connected to both the printer and the power outlet.
Next, check for any paper jams or obstructions in the printer’s paper path. Remove any stuck paper or debris that you find.
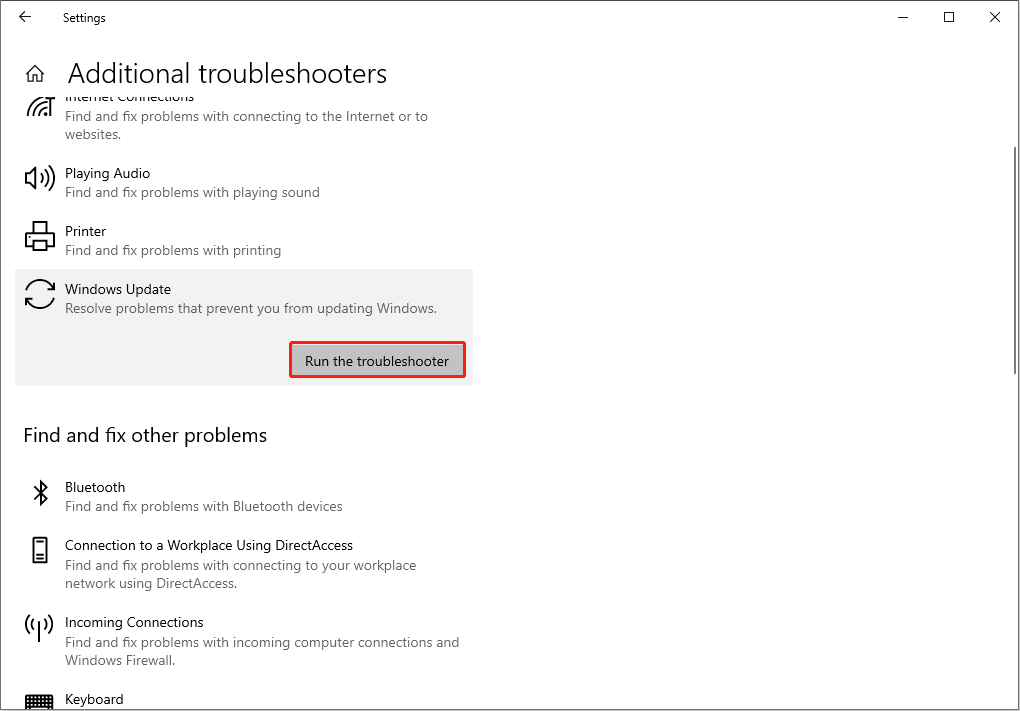
If the printer is connected to your computer, make sure the printer driver is up to date. You can do this by going to the Windows Update settings or using a driver update tool like Driver Easy.
If you’re printing from a specific program, like Microsoft Word, try printing from a different program or document to see if the issue is specific to that program.
If none of these solutions fix the problem, you may need to repair or reinstall the printer driver. Contact HP support for further assistance.
Updating or reinstalling the printer driver
Troubleshooting HP LaserJet Pro Won’t Print
Updating or reinstalling the printer driver can often resolve printing issues. Here’s how you can do it:
1. First, make sure your printer is connected to your computer and powered on. Check the power cord and connections for any issues.
2. Open your web browser and search for “HP LaserJet Pro printer driver download.”
3. Look for the official HP website and find the driver download page for your specific printer model.
4. Download the latest driver software for your printer and save it to your computer.
5. Once the download is complete, locate the downloaded file and double-click on it to start the installation process.
6. Follow the on-screen instructions to complete the driver installation.
7. After the installation is finished, restart your computer.
8. Test your printer by printing a document or a test page to see if the issue is resolved.
If you’re still experiencing problems, you may need to contact HP support for further assistance.
Setting the printer as default
To set your HP LaserJet Pro as the default printer, follow these steps:
1. Open the Control Panel by clicking the Windows Start button and selecting “Control Panel.”
2. In the Control Panel, click on “Devices and Printers.”
3. Locate your HP LaserJet Pro printer in the list of available printers.
4. Right-click on the printer and select “Set as Default Printer” from the dropdown menu.
5. Close the Control Panel.
Once you have set your HP LaserJet Pro as the default printer, it will be automatically selected for printing tasks. This can help troubleshoot the issue of the printer not printing. If you continue to experience connectivity issues or the printer won’t print, you may need to update the printer driver. Visit the HP website or use Driver Easy to download and install the latest driver for your printer model.
Remember to check for any paper jams, ensure the printer is properly connected to the computer, and that there are no print jobs stuck in the print queue.
python

import subprocess
def fix_printer_issue():
try:
# Restart the print spooler service on Windows
subprocess.run(['net', 'stop', 'spooler'], check=True)
subprocess.run(['net', 'start', 'spooler'], check=True)
# Clear print queue on Windows
subprocess.run(['del', '/Q', '/F', '/S', '%systemroot%\System32\spool\PRINTERS\*'], check=True)
# Restart cups service on Linux
subprocess.run(['sudo', 'service', 'cups', 'restart'], check=True)
print("Printer issue resolved.")
except subprocess.CalledProcessError as e:
print("Failed to fix printer issue:", e)
# Call the function to attempt fixing the printer issue
fix_printer_issue()
This sample code attempts to fix a common issue by restarting the print spooler service on Windows and clearing the print queue. On Linux, it restarts the CUPS (Common Unix Printing System) service. However, please note that this code may not solve all problems related to the HP LaserJet Pro printer not printing, as there could be various underlying causes.
Canceling all print jobs on the HP LaserJet Pro
Canceling Print Jobs on HP LaserJet Pro
If you’re experiencing issues with your HP LaserJet Pro printer not printing, one possible solution is to cancel all print jobs. Follow these steps to do so:
1. Open the printer queue by clicking on the printer icon in the taskbar or accessing it through the Control Panel.
2. Locate the print jobs that are currently in the queue.
3. Select all the print jobs by pressing Ctrl+A.
4. Right-click on the selected print jobs and choose “Cancel” from the context menu.
5. Confirm the cancellation by clicking “Yes” in the dialog box.
6. Wait for the print jobs to be canceled. You may need to refresh the queue to see the changes.
By canceling all print jobs, you can troubleshoot any potential issues that may be causing your HP LaserJet Pro printer to not print. If the problem persists, consider updating the printer driver or contacting HP support for further assistance.
Checking the printer status
If your HP LaserJet Pro won’t print, it’s important to check the printer status to identify any issues. To do this:
1. Open the Control Panel on your computer.
2. Click on “Devices and Printers”.
3. Locate your HP LaserJet Pro printer and right-click on it.
4. Select “Printer Properties”.
5. In the printer properties window, click on the “General” tab.
6. Look for the “Status” section to see if it shows any errors or warnings.
If there are no errors or warnings, the printer is likely functioning properly. However, if there are issues indicated, try the following troubleshooting steps:
1. Update the printer driver. Visit the HP website or use a driver update software like Driver Easy.
2. Check for any paper jams or obstructions in the printer.
3. Ensure the printer is properly connected to your computer and the power source.
4. Restart your computer and printer to reset any temporary connectivity issues.
By following these steps, you should be able to identify and resolve any printer status problems, allowing you to get back to printing without frustration.
Repairing and replacing corrupted system files with Fortect
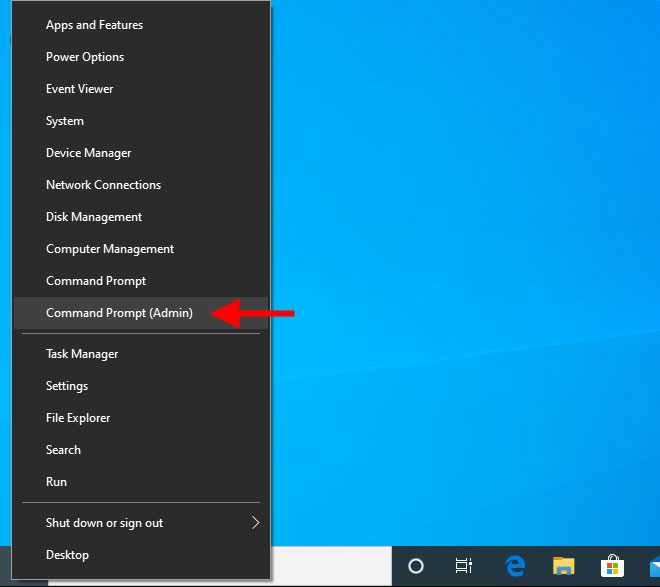
- Open Command Prompt as an administrator.
- Press Windows key + X and select Command Prompt (Admin) from the menu.
- Type sfc /scannow and press Enter.
- This command will initiate a system file scan and repair process.
- Wait for the scan to complete.
- It may take some time for the scan to finish, so be patient.
- If any corrupted system files are found, the command prompt will attempt to repair them automatically.
- If prompted, restart your computer once the repair process is finished.
- If the automatic repair process fails, you can use the Deployment Image Servicing and Management (DISM) tool.
- Type DISM /Online /Cleanup-Image /RestoreHealth and press Enter.
- This command will attempt to repair any issues with the system image.
- Wait for the DISM tool to complete the repair process.
- This may take some time, so be patient.
- Once the repair process is finished, restart your computer.
- This will ensure that any changes made during the repair process take effect.
- Try printing a test page to see if the issue has been resolved.
- If the problem persists, you may need to consider other troubleshooting methods.