Troubleshoot Skype Video Calling Disabled, No Camera Found
In today’s interconnected world, Skype has become an essential tool for communication, connecting people across borders with its video calling feature. However, encountering an issue where the video calling option is disabled or the camera cannot be found can be frustrating. This article aims to provide practical solutions to troubleshoot and resolve these common Skype dilemmas, ensuring smooth and uninterrupted video conversations.
Causes of Skype webcam problems
1. Outdated or incompatible webcam drivers can cause issues with Skype video calling. Ensure that you have the latest drivers installed for your webcam.
2. Settings within the Skype app or on your computer may be preventing the camera from being detected. Check that the camera is enabled in Skype’s settings and that your computer’s privacy settings allow camera access.
3. If you are using a laptop, make sure that the camera is not disabled or covered by a physical switch or lid.
4. Insufficient power or low battery levels can affect the functionality of your webcam. Ensure that your device is adequately powered or plugged into a power source.
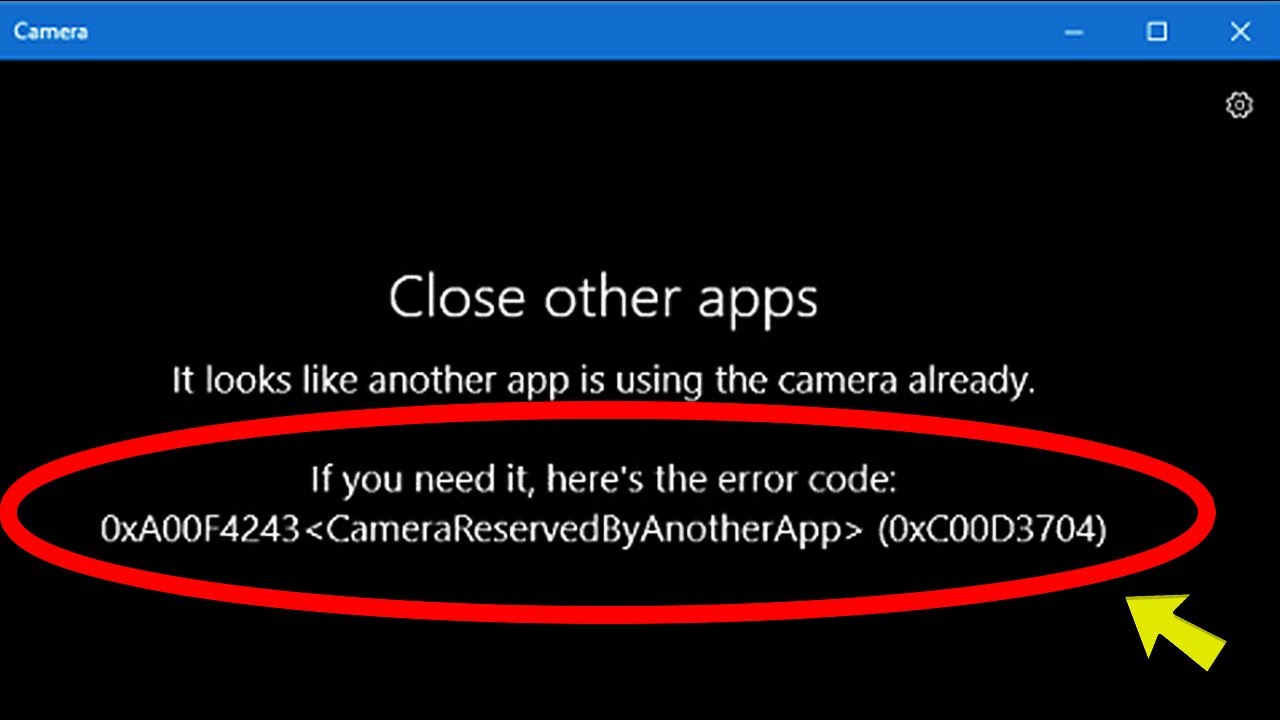
5. Other applications or programs using the camera simultaneously can cause conflicts. Close any unnecessary apps and try using Skype again.
6. If you are using an external webcam, check the connection and make sure it is securely plugged in.
7. Restarting your computer or reinstalling the Skype app can sometimes resolve webcam issues.
Remember to test your webcam with other applications to determine if the problem lies specifically with Skype.
How to fix Skype camera problems
If you’re experiencing camera problems during a Skype video call, there are a few troubleshooting steps you can try:
1. Check your webcam: Make sure your webcam is properly connected to your device and turned on. If you’re using an external webcam, try unplugging and reconnecting it.
2. Update Skype: Ensure that you have the latest version of Skype installed on your device. Updates often include bug fixes and improvements that can resolve camera issues.
3. Check camera permissions: On Windows 10, go to Settings > Privacy > Camera and make sure Skype has permission to access your camera. On Mac, go to System Preferences > Security & Privacy > Privacy > Camera and ensure Skype is enabled.
4. Restart Skype: Close Skype completely and reopen it. Sometimes a simple restart can fix camera problems.
5. Test your camera: In Skype, go to Settings > Audio & Video and click on the preview window to test your camera. If you can see yourself, your camera is working fine.
6. Try a different device: If possible, test your camera on a different device to determine if the issue is with your camera or your computer.
Remember to check for any software or driver updates for your webcam, as these can also cause camera problems. Hopefully, one of these solutions will resolve your camera issues and allow you to enjoy uninterrupted video calls on Skype.
Ensure webcam compatibility with Skype
To ensure webcam compatibility with Skype, follow these steps:
1. Check your webcam’s compatibility: Make sure your webcam is compatible with Skype by checking the manufacturer’s website or consulting the webcam’s documentation. Some webcams may require specific drivers or software to work with Skype.
2. Update Skype and your operating system: Ensure that you are using the latest version of Skype and that your operating system is up to date. Updates often include bug fixes and improvements that can resolve webcam issues.
3. Test your webcam: Open the Skype app and go to the settings menu. Under the “Audio & Video” section, you should see a preview of your webcam. If you don’t see anything or if the image is distorted, try the following steps.
4. Restart your computer: Sometimes a simple restart can fix webcam problems. Close all applications, restart your computer, and then open Skype again to see if the webcam is working.
5. Check webcam permissions: Ensure that Skype has permission to access your webcam. On Windows 10, go to “Settings” > “Privacy” > “Camera” and make sure the toggle switch is on for Skype. On Mac, go to “System Preferences” > “Security & Privacy” > “Privacy” > “Camera” and ensure Skype is checked.
6. Troubleshoot hardware issues: If you’re still experiencing webcam problems, try connecting your webcam to a different USB port or test it on another computer to determine if the issue is with the webcam itself.
By following these steps, you should be able to troubleshoot and resolve webcam compatibility issues with Skype. Remember to always check for updates and consult Skype’s support documentation for additional troubleshooting steps if needed.
python

import subprocess
def check_camera_availability():
try:
# Use subprocess to execute a command that checks camera availability
result = subprocess.run(['ls', '/dev/video*'], capture_output=True, text=True)
# If the command returns any output, camera is found
if result.stdout:
return True
else:
return False
except Exception as e:
print(f"An error occurred while checking camera availability: {e}")
return False
def enable_skype_video_calling():
# Check if camera is available
if check_camera_availability():
# Code to enable video calling in Skype
print("Video calling in Skype has been enabled.")
else:
print("No camera found. Please ensure a camera is connected and functioning correctly.")
# Main program
enable_skype_video_calling()
In this sample code, we have a function `check_camera_availability()` that uses the `subprocess` module to execute a command to check for the presence of a camera. If the command returns any output, indicating the presence of a camera, the function returns `True`; otherwise, it returns `False`.
The `enable_skype_video_calling()` function calls `check_camera_availability()` to determine if a camera is available. If a camera is found, it assumes Skype is installed and enables video calling. If no camera is found, it displays an appropriate message.
Adjust camera settings in Skype
Adjusting camera settings in Skype can help troubleshoot issues when video calling is disabled or when no camera is found. Here are some quick steps to follow:
1. Open Skype and sign in to your account.
2. Go to “Settings” by clicking on your profile picture.
3. In the settings menu, select “Audio & Video” from the left-hand side.
4. Under the “Camera” section, ensure that your camera is selected from the drop-down menu.
5. If your camera is not listed, make sure it is properly connected to your device.
6. Check if the camera is enabled in Skype by toggling the “Camera” switch on.
7. Adjust camera settings like brightness, contrast, and focus to improve video quality.
8. Test your camera by clicking on the “Test Video” button.
9. If you’re using Skype on a mobile device, make sure you have granted camera permissions to the app.
Following these steps should help you resolve camera-related issues in Skype and ensure smooth video calling experiences.
Troubleshoot USB webcam connection
Troubleshoot USB Webcam Connection
If you’re experiencing issues with your USB webcam connection, follow these steps to troubleshoot the problem:
1. Check the USB connection: Ensure that the webcam is properly connected to your computer’s USB port. If it’s already connected, try a different USB port to rule out any issues with the port.
2. Update webcam drivers: Visit the manufacturer’s website and download the latest drivers for your webcam. Install them on your computer to ensure compatibility and optimal performance.
3. Test the webcam on another device: Connect the webcam to a different computer or laptop to see if it works. If it does, the issue might be with your computer’s settings or software.
4. Check webcam settings in Skype: In Skype, go to “Settings” > “Audio & Video” and make sure the correct webcam is selected. If the webcam is not listed, try disconnecting and reconnecting it.
5. Restart Skype: Close Skype and reopen it to refresh the application. Sometimes, a simple restart can fix minor glitches.
If these troubleshooting steps don’t resolve the issue, contact the webcam manufacturer for further assistance.
Test webcam functionality
Test Webcam Functionality:
1. Launch the Skype app and sign in to your account.
2. Go to “Settings” by clicking on your profile picture.
3. Under the “Audio & Video” tab, check if your camera is detected. If not, try these troubleshooting steps:
a. Make sure your camera is properly connected to your device.
b. Restart your computer and relaunch Skype.
c. Update your camera driver to the latest version.
4. If your camera is detected but not working, click on “Test video” to check if it’s functioning properly.
a. Adjust the camera settings like brightness, contrast, etc., if needed.
5. If the camera still doesn’t work, try using it with another application or website to determine if the issue is specific to Skype.
6. If your camera works with other apps but not Skype, uninstall and reinstall the Skype app.
7. Contact Skype support if the issue persists.
Remember, a working camera is essential for smooth video calls, interviews, and meetings.
Grant camera permissions for Skype
Granting camera permissions for Skype is essential to ensure smooth video calling and avoid any issues with a disabled camera or a camera not being found. Here’s how you can troubleshoot this problem:
1. On your device, open the Settings menu.
2. Look for the “Privacy” or “Permissions” section.
3. Select “Camera” from the list of permissions.
4. Locate Skype in the app list and make sure the camera permission is enabled.
5. If the permission is disabled, toggle it on to grant camera access to Skype.
If you’re using a Windows device, you can also grant camera permissions directly through the Skype app:
1. Launch Skype and sign in to your account.
2. Go to “Settings” by clicking on your profile picture.
3. Under the “Audio & Video” tab, check if the correct camera is selected.
4. If not, click on the drop-down menu and choose the appropriate camera.
5. Make sure the camera is not blocked physically or by any other software.
Following these steps should resolve camera-related issues during Skype video calls, allowing you to enjoy seamless communication with friends, colleagues, and loved ones.
Close conflicting programs using the webcam
- Identify any other programs or applications that may be using your webcam.
- Exit or close the conflicting programs.
- Common programs that may cause conflicts include video conferencing apps, camera software, or any other application that requires camera access.
- Check the system tray or taskbar for any camera-related icons, right-click on them, and select Exit or Close to close the programs.
- If you are unable to locate any camera-related icons, press Ctrl + Shift + Esc to open the Task Manager.
- In the Processes tab, look for any processes that may be related to camera or video applications.

- Right-click on these processes and choose End Task to close them.
- After closing the conflicting programs, restart Skype or any other video calling application you are using.
- Check if the camera is now detected and the video calling feature is enabled.
Enable and disable webcam
To enable or disable your webcam for Skype video calling, follow these steps:
1. Open the Skype app on your device.
2. Go to the settings menu by clicking on your profile picture or initials in the top left corner.
3. In the settings menu, select “Audio & Video.”
4. Under the “Video” section, you will see a dropdown menu with your camera options. If your camera is currently disabled or not found, select your desired camera from the list.
5. If you want to disable your camera, select the option to turn it off.
6. Once you have made your selection, close the settings menu and your webcam settings will be saved.
Remember to check if your camera is connected properly and functioning correctly. If you continue to experience issues, refer to our Troubleshooting Guide for further assistance.
Check and update webcam drivers
To check and update your webcam drivers, follow these steps:
1. Press the Windows key + X and select Device Manager from the menu.
2. Expand the Imaging devices or Cameras category.
3. Right-click on your webcam and select Update driver.
4. Choose Search automatically for updated driver software.
5. Wait for Windows to search for and install the latest driver.
6. If no updates are found, you can try visiting the manufacturer’s website to manually download and install the driver.
If your webcam is still not working after updating the drivers, try these additional troubleshooting steps:
1. Make sure your webcam is enabled. Right-click on your webcam in Device Manager and select Enable device.
2. Check if the camera privacy settings are blocking access to your webcam. Go to Settings > Privacy > Camera and toggle on the Allow apps to access your camera option.
3. Restart your computer and try again.
By following these steps, you can resolve webcam issues and get back to using Skype or other communication tools without any trouble.